We had amazing weather last weekend. So we ditched the interior DIY plans and covered ourselves in a layer of protective sun cream and headed out to the garden. We’ve been wanting to get the greenhouse up ever since we moved in several years ago, but it’s just never happened. We even ordered the sand and that’s been sitting in our driveway for the past year or so, making it really difficult to put the bins out – so annoying.
We managed to get 2×3 paving slabs off someone on Freecycle too and these were plonked in the driveway next the sand. With so much DIY to do it’s hard to keep focused sometimes, but the weather made the decision for us this weekend.
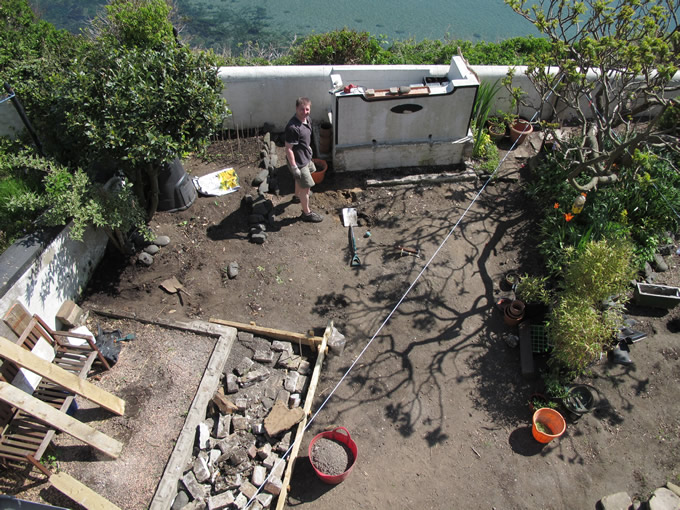
This is a shot of the garden from above showing where we’re putting the foundation for the greenhouse. We discovered the foundations that must have been used for a greenhouse years ago and we’re extending this. It was full of really good soil, so we dug this out and that is now a mountain the dog loves to climb on the other side of the garden. We then dug up all the gravel that the previous owner has covered the garden up with (hence the expanse of bare soil) and poured this into the hole we’d created – we also gave tons away on Freecycle as there was so much of it.
Day 1 – Prep
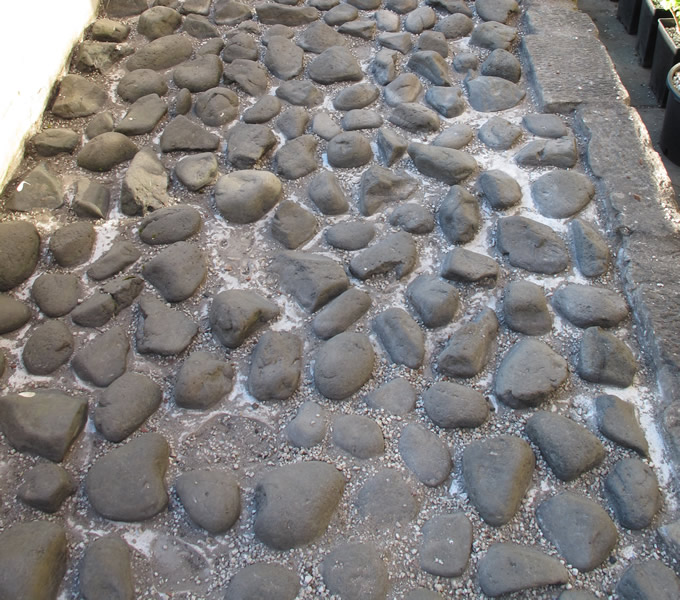
So we hefted – no I’ll rephrase that – Colin hefted all the slabs into the back garden by rolling them along the gravel path down the side of the house while I cleared a load of ‘decorative’ chips from the ‘crazy’ paving at the front of the house – we had a big hole to fill with rubble, so the chips were going into that as we have hated them ever since we moved in. If I had a time machine I would certainly go back in time and stop the person setting rocks in concrete at the front of the house and covering them in decorative chips so that I didn’t have to spend 3 or so hours scooping them up into a bucket – it was such a fiddly time consuming job and that was only half the front garden cleared! Not looking forward to doing the other half.
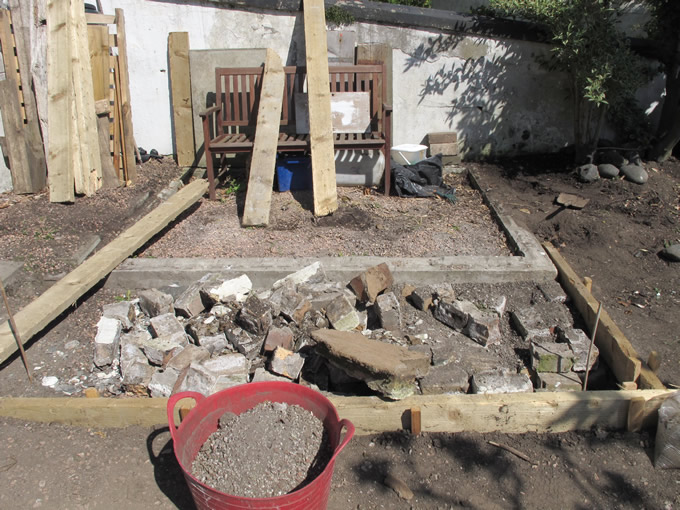
As we’d decided to extend the foundation area for the greenhouse, so that we could have pots and a bench around the side of it, we needed additional rubble and it was a joy to dump all the decorative chips in there.
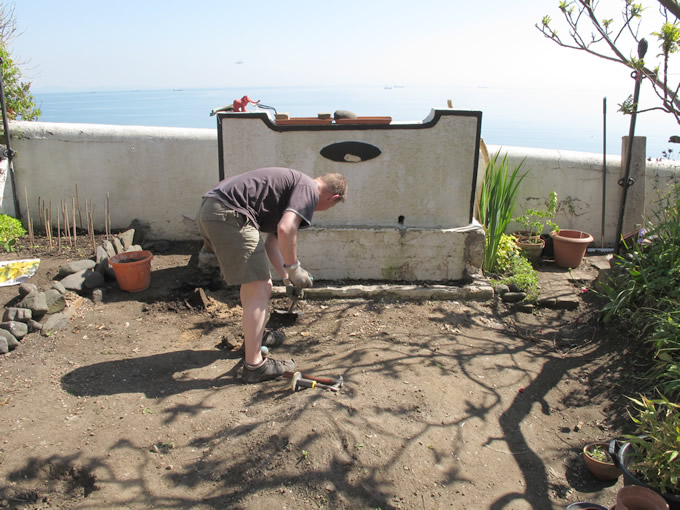
We’ve also decided to get rid of the white concrete seat at the bottom of the garden as it’s at a really odd angle, is really ugly (everyone who visits thinks it’s a tomb of some sort) and very uncomfortable to sit on, so knocked away a bit of this to fill the new hole. We’ll be getting rid of the rest another time – that’s a whole different demolition job!
So once the new hole was filled we started on the sand layer, mixing in a little bit of cement as we went a long.
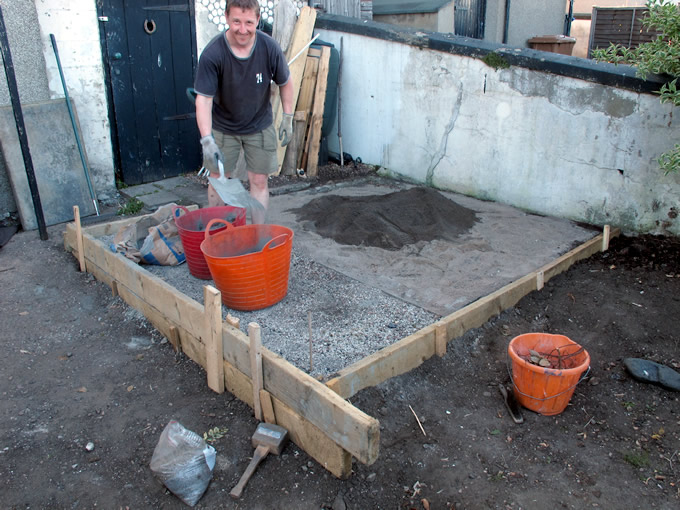
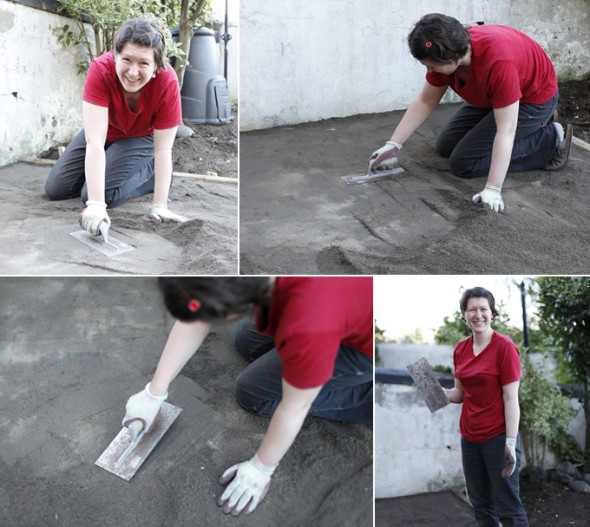
I tried my best to get the area level so that we’d have a good starting point when laying the slabs…
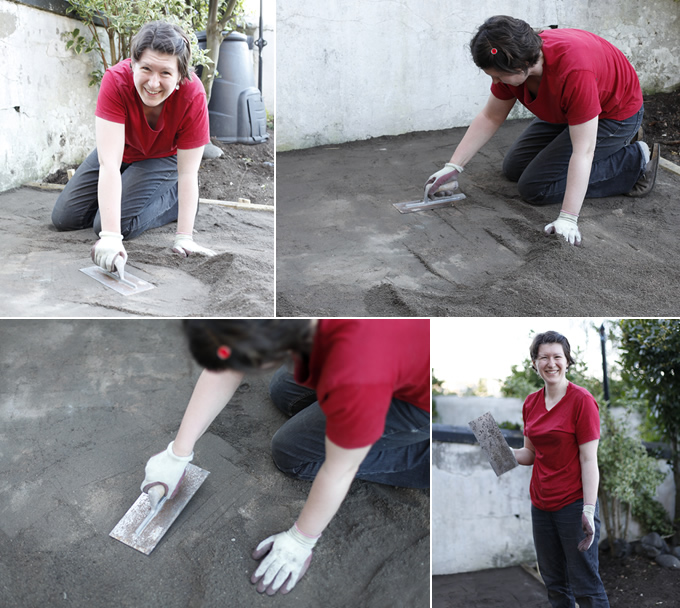
…and then we covered the lot up and finished up for the day, totally knackered!
Day 2 – Laying the slabs
We decided to start at the top left corner and laying the first slab is tricky, but we got it in and made it level. Then carried on until the third slab which we discovered was half and inch shorter than the first two.
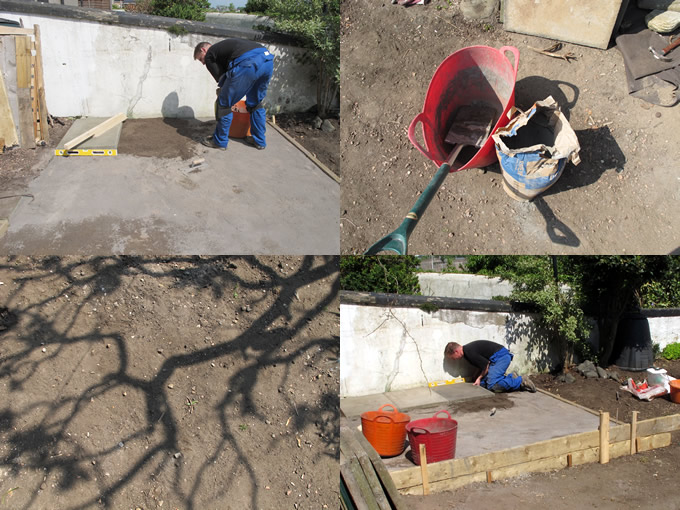
We soon relaised that the first two slabs were ones we found in the garden and they are larger and thicker than the slabs we got on freecycle, but instead of taking them up and starting all over again we decided to leave them and work around that little mistake. It meant we needed to use more sand and in the end we ran out. Plus the rain started and so we covered the lot up and would have to order more sand and carry on when it arrived. We managed to lay 7 slabs in total – only 5 more to go!
