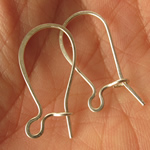
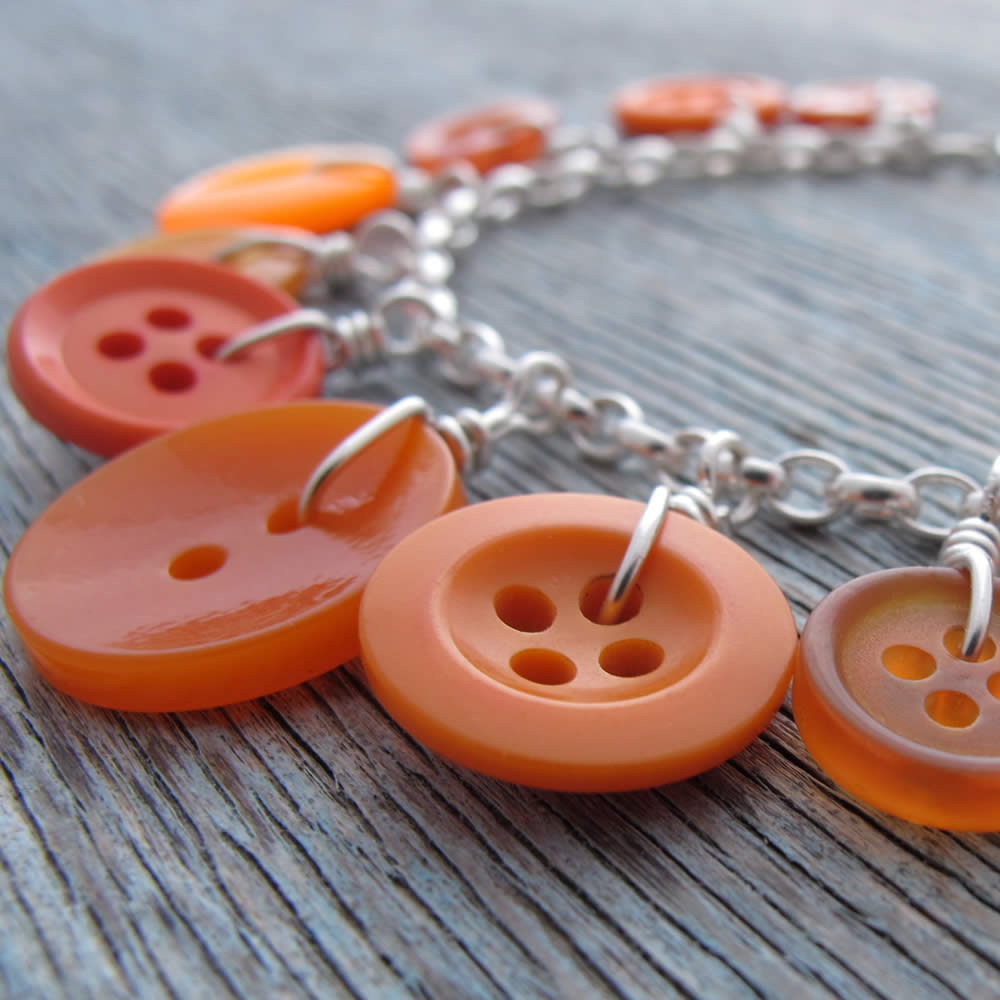
I recently fixed a pair of earrings for my friend Claire and they gave me an idea of how I could approach making my vintage button earrings. Claire’s earring were so simple – just a piece of silver wire, curved and bent in half, with balled silver on one end that held a cut glass bead in place. After sketching out lots of ideas I decided to try a similar technique for my vintage button earrings.
Instead of attaching a flattened jump ring to the bezel setting and then hanging this from an earwire, I thought I would try soldering wire directly onto the bezel setting and bending this to form an integrated earwire.
Not only would this be more elegant and streamlined, the process would be simpler and quicker with less components to worry about. I decided to photograph the process. I work in batches so generally make 3-4 earrings at a time. I think it’s better to work like this as you can keep working constantly, rather than having to stop and wait for something to pickle or cool down. My camera is on it’s last legs and so although I did photograph the entire process, not all the images came out, so there are a few gaps in the process, so I’ll try again the next time I make some earrings to capture the whole process I promise.
1. Selecting Buttons
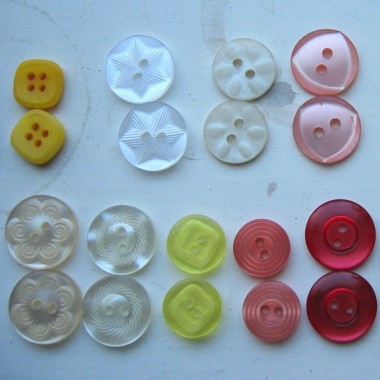
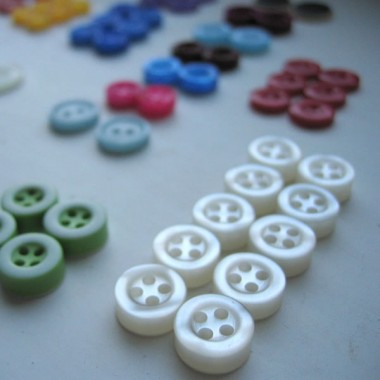
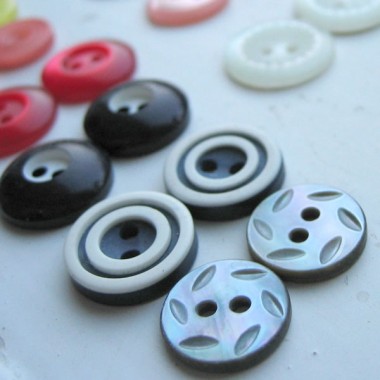
I’ve covered the window ledge in my studio with lots of pairs and groups of buttons that are all destined to be made into earrings. I like to choose ones that have interesting patterns and colours. I generally stick with round buttons, but have a few square ones lined up. I’ve not tackled anything more intricate. I also love deep/thick buttons like the white ones in the central image – with these I can use my 5mm bezel wire and I don’t need to sand it down very much. With flat buttons I use 3mm bezel wire and normally have to either snip off or sand away half of the bezel as it doesn’t come in thinner strips, which I think it quite wasteful. So I’m looking into making my own bezels from thin wire to see if I can get around this wastage issue.
2. Making the Bezels
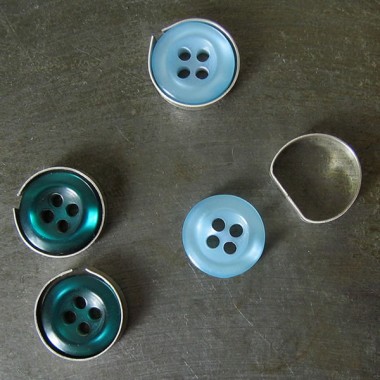
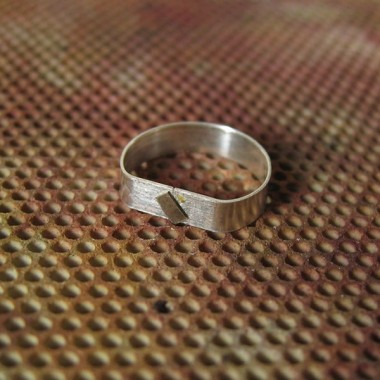
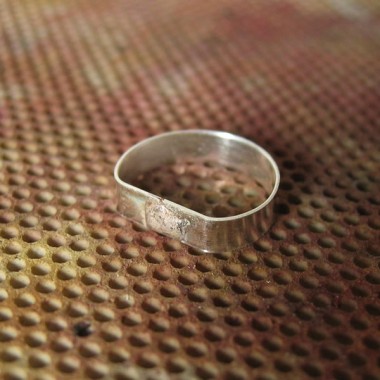
Firstly I have to cut my 3mm bezel strip to fit around each button – you can do this two ways – the mathematical way or the fiddly way. I choose the fiddly way as I’m terrible at maths. The maths way involves calculating the circumference of the button by taking the diameter of it and involving Pi at some stage in the calculations – I can’t elaborate any more as just thinking about it make my brain fuse – I was never good at maths at school and have been frequently told off by niece and nephew for not knowing my Eight Times Table – enough said. So the fiddly way is to just wind the bezel around the button and mark with a pencil where to cut. I generally allow for an extra mm so that I can sand the edge down and also to allow for wonky cutting that needs to be straightened off.
Once the bezels are cut, they are then shaped into a sort of rounded ‘D’ shape and the edges are aligned and soldered together. They are then tossed into the pickle to remove fire stain and then it’s onto the next bit.
3. Stamping the Backs
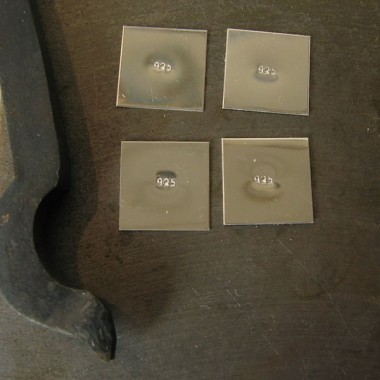
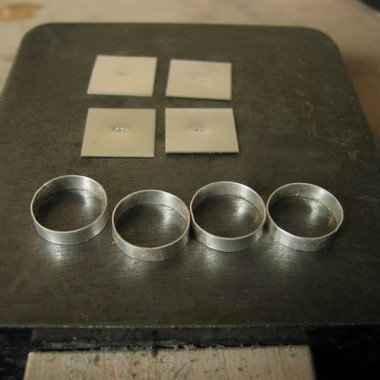
I used to order sheet silver and cut out small squares for the backs of my earrings, but this was quite time consuming and I realised I could order the same amount of sheet silver and have it pre-cut. So I have a small box of flat silver squares that I use. I like to stamp my earrings with the number 925 – this shows that they are made from sterling silver. It’s a habit I got into a while ago and I’ve just continued doing it.
4. More soldering and then some cutting and then some sanding
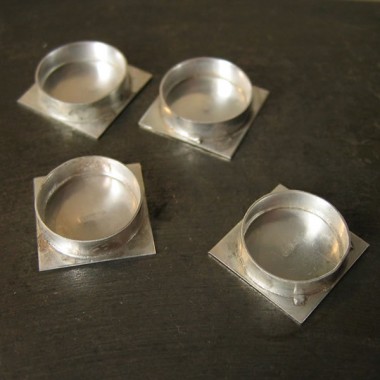
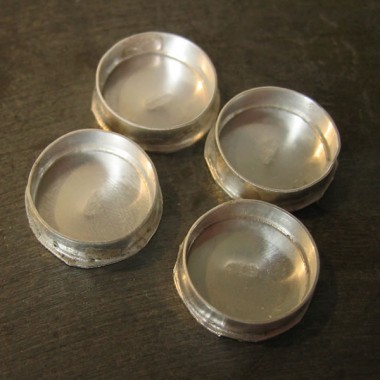
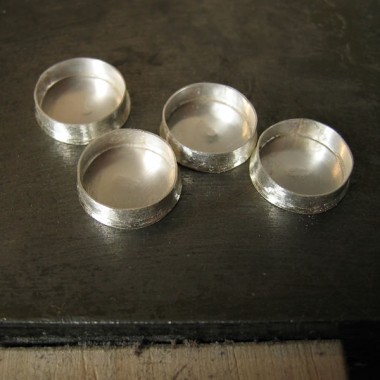
I then solder each bezel is brushed with flux and placed onto a back and small pieces of solder are cut and placed around the outside edge. It’s fiddly getting all the small pieces of solder around the bezel edges and I did take a picture of this stage, but it didn’t come out. Each bezel setting to soldered and then tossed into the pickle to remove fire stain. Once out of the pickle the bezels are rinsed and dried and then any excess silver is cut off to make the setting circular. Don’t worry – the excess silver doesn’t go to waste – I have a huge pot of the stuff and intend to re-use it for other projects. I decided to keep a little lip on these earrings – it’s something I sketched out and liked, and once I’d seen it in action I liked it even more. I then file down the edges and remove any lumps of solder that exist and make them all smooth – I start of with a small hand file and then work my way through various grades of wet and dry paper until I get a smooth finish. It’s also necessary to check the height of the buttons against the bezels to see if they need sanding/filing down a little – I want the silver to sit just a little but above the buttons. Once I’m happy with the height of the bezels and the smooth finish I move onto making the earwires.
5. Making the Earwires
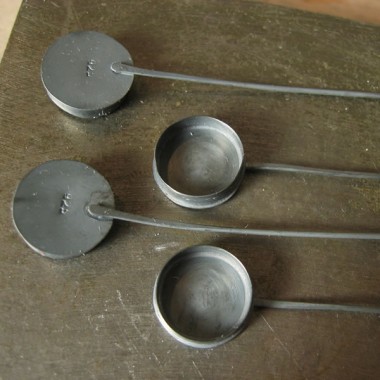
I’ve not got any image of this stage as yet again my camera let me down! I cut a few small strips of 0.8mm wire and rounded the ends of these to remove any sharpness. I then hammered one end of these flat and rounded the edges of the flattened end. These were then soldered onto the back of each bezel setting.
6. Oxidising the Silver
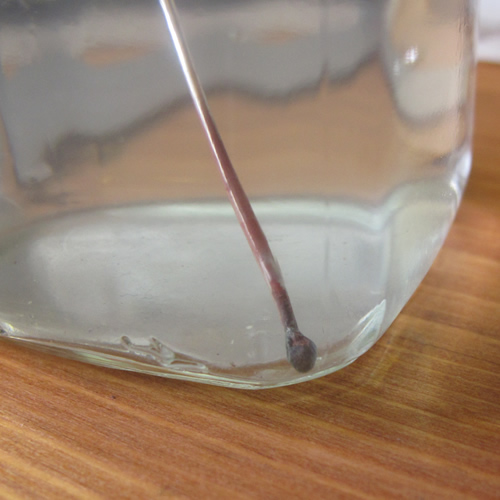
Using an ever so pongy dilution of liver of sulphur [smells of rotten eggs] I oxidised each bezel setting – again no images! This gives the silver a blackened antiqued look. You can get the same result by sealing your silver up in a zip lock bag with a freshly boiled, hot, cut up egg, but this process takes a lot longer – I’ve tried it and it does work, but you do have to wait. Here are the bezel settings with earwires attached after they have been oxidised:
7. Setting the Buttons
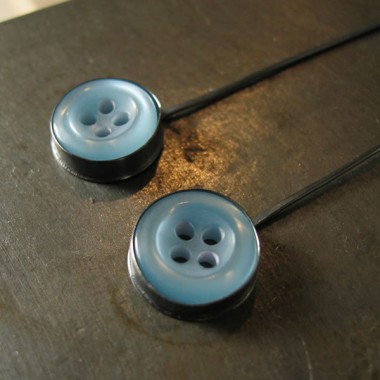
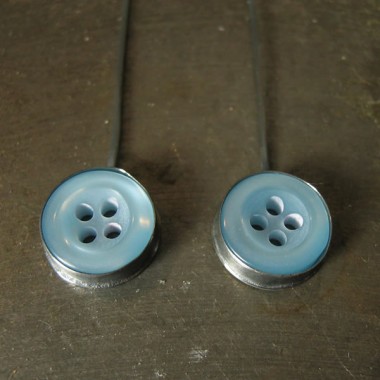
The next stage is to set the buttons – sometimes a bit of a tight squeeze to get them into the settings, but once in the edges of the bezel are then pushed over the button carefully to hold it in place. I work all the way around the button with a burnishing tool to flatten and polish the edges. I then get a silver cloth and polish the entire earring.
8. Shaping the Earwires
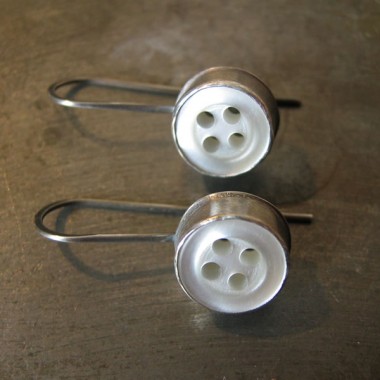
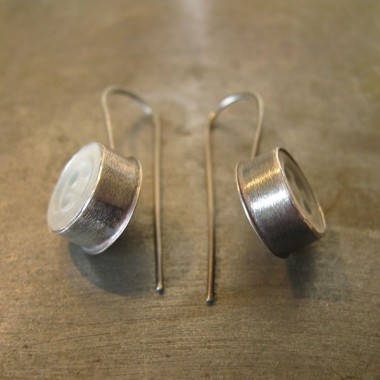
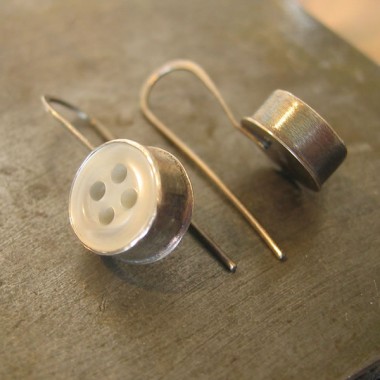
I’ve not got any images of this process and I need both hands to work and bend the silver, so here are some images of the finished white earrings. I shape the earwires around a thick knitting needle and the hammer the curved area to flatten and harden the metal so that it keeps it’s shape. These white earrings are lovely and deep and used the 5mm bezel wire. You can see the lip at the base that I decided to incorporate quite clearly too. I think this gives a lovely outline to the button when viewed straight on as it catches the light.
The three buttons pictured throughout this ‘Work in Progress’ post can be bought from the Makers-Online website. I sent them the info and images yesterday and so they will be listed on the site very soon.


