Here’s an update on how I’m getting on with the learning…
Both Dot and I have been too busy to have any more one to one sessions for ages, so I’ve been going it alone for a while. I’ve been doing lots of reading and lots of research and I’ve also been watching loads of video tutorials online. I got myself a small jewellery bench the other week from IKEA.
It’s one of those kitchen trolleys that can be moved about and Dot has a few of them in her studio that her students use during workshops and classes. At £29.26 it was a bargain. It’s nice and sturdy and sits in the corner of my studio, but I can move it about if I need to, to allow for more space around it when I’m hammering away at something or need to use my vice.

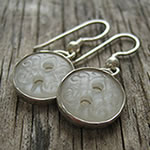
I love it and can’t believe I got something so nice and sturdy and compact for under £30. So I have Dot to thank for the tipoff. Anyway I’m currently adapting what I learnt from Dot about setting stones to setting buttons. Here are some earrings I made recently….
I didn’t do such a good job of attaching the jump rings to the back and think I should have soldered them closed before attaching them, but as it was my first attempt I can learn from that and do a better job next time:
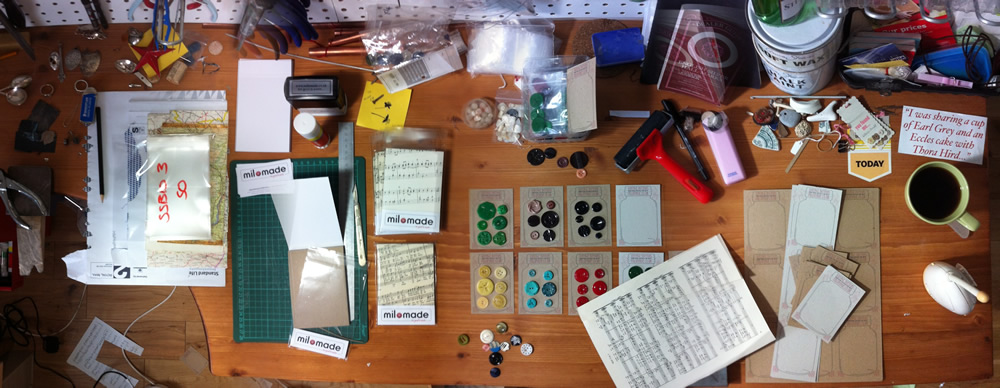
I recently got an amazing set of vintage buttons on eBay and I’ve got 30 really interesting pairs and so going to perfect the art of making these eventually. I’m also in the process of making a bracelet using 7 buttons that are all colours of the rainbow and I need to figure out how I am going to join them all together. I’m probably going to use the same jump ring idea used for the earrings and learn to create a simple chain.


Ooh these looks lovely. I went to the Craft fair at Bovey Tracey this weekend and a lady there was using vintage buttons and silver. I’m using buttons at the moment too (must be a button monent in the universe), but casting them in ceramic – my test pieces went to Bovey and got a good reception. You may want to check out my blog (or not!) but I have recently written about the silver clay course I attended which was brill and may be of interest
I did a silver clay course a while back – thought it was great, but found it too fiddly and and too much faffing about being carfeul not to let it dry out when you’re working with it and then having to wait around for ages for it to dry out before going in the kiln and then waiting again. I also didn’t like the fact that you get a lot fo shrinkage with it too, so have to compensate for that. That’s why I decided to learn how to work with actual silver instead. Off to check out your blog – can you remember who the button lady was?
Sorry – I didn’t pick up her card as I already had a bag full (blush) – I’m sure there’s plenty of room for more though as you’ll do it in a different way, with different buttons. ref silver clay As I work with clay anyway, I’m really interested to see how I might combine the two. That could either be fabulous and exciting or flippin awful
Never mind – I just like being nosey at how other people use buttons. I like your pendants – you made far nicer stuff than I did in my class – I ended up being really disappointed with the whole thing. Much prefer working with silver and doign soldering and bashing things with a hammer a lot.
Those earrings are so simple and so effective. Really wonderful. And I’m very tempted by the Ikea table . . . thanks for the link!
unpierced ears here, but it they were holey, I’d love to dangle those earrings in them ;o) really lovely x
These look lovely, I love silver and buttons. I used a similar technique to make a ring with my favourite button. I’d like to make some more but wasn’t sure about how to set up a home-based area for the soldering (gas cannnisters and home felt a bit scary!). btw, instead of a jump ring, could you use silver wire or a flat piece bent into a little loop and soldered on. You might have to prop the main piece between some heat bricks, but it works for pendants so should work for earrings (and obviously have to solder it on before putting the button in!). Good luck, they are lovely.